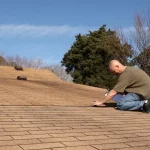
Is your home’s exterior paint faded, cracked, and weathered? A new coat of paint can work wonders to refresh the look of your house and increase its curb appeal. Repainting can protect the outside walls from water damage and extend your siding’s lifespan.
If these benefits are enough to bring out those brushes, hold that thought if you live under a homeowners’ association (HOA). There are usually strict regulations for exterior painting that you need to follow.
The good news is that complying with your HOA guidelines is easy if you know what to expect. This will help you avoid headaches like angry neighbour complaints, violations that lead to fines, or even repainting if unapproved colours are used.
In this article, we’ll share eight tips to help you repaint your home while staying in good graces with your HOA.
- Seek Your HOA’s Approval
Before repainting any part of your home’s exterior, contact your HOA and inquire about their specific rules and regulations regarding exterior painting. They may have a list of pre-approved colors or guidelines for you to follow.
Getting their approval usually takes some paperwork on your part. You must submit your plans to the HOA board or architectural committee. This usually involves filling out a form with details like:
- The colors you want to use
- Which part/s of the house you’ll repaint
- The paint brand and type (flat, semi-gloss, etc.)
- A sample paint chip
The process usually takes some time but expect the HOA to get back to you regarding your request. Depending on your proposal and the documents you submit, they will either approve or suggest any modifications to your paint colors to ensure that your home’s exterior paint conforms to the aesthetics of your HOA community.
- Understand Color Restrictions
Many HOAs have restrictions on the colors you can use for the exterior of your home. They may limit you to a particular color palette or have guidelines about the percentage of your house that can be painted a specific color.
Some HOAs only allow single-color exterior paint jobs. Others limit you to two colors: typically, one for the main exterior walls and another for accents like shutters or front doors. Drive around your neighborhood and see what color schemes are commonly used.
While this can give you an idea of what to paint your home’s exterior, don’t be so quick to copy your neighbor’s house color, as your HOA won’t allow it. Consider discussing the details with an HOA painting contractor San Diego to help you find color combinations that suit your home style and preferences while staying within your HOA’s recommendations.
- Use High-Quality Paint
When it comes to repainting your home, quality matters. Using high-quality paint not only ensures a better finish but also increases the longevity of your paint job. Quality paint is more durable and can withstand the elements better, saving you money in the long run. Check with your HOA if they have any specific recommendations for paint brands or types.
- Pay Attention To Finish And Texture
Your community may have specific requirements regarding the finish and texture of your exterior paint. Some associations prefer a matte finish, while others may require a glossier look. Additionally, there might be guidelines regarding the texture of the paint, such as a smooth or textured finish.
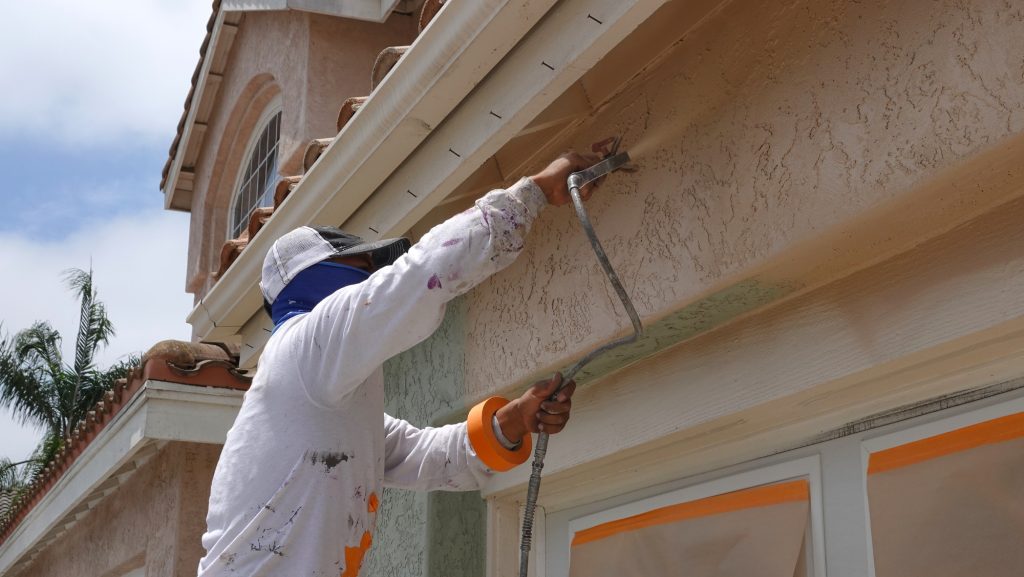
- Hire A Professional Painter
While some homeowners might be tempted to paint themselves, it’s often best to hire a professional painter, especially when dealing with HOA regulations. Professional painters have experience adhering to guidelines and can ensure the work is done correctly and within compliance. They also have access to the necessary equipment and tools to do the job efficiently.
- Stay On Schedule
HOAs often have timelines for starting and completing your painting project. Most allow you to repaint your home while renovations in common facilities are ongoing. They may also have set schedules, such as painting during certain hours and days.
Some associations also provide a deadline for painting projects, such as 60 to 90 days, while others have shorter timeframes. It’s crucial to adhere to these timelines to avoid any issues with your association.
Delays can be frustrating for you and your neighbors, so plan accordingly and communicate with your painter to ensure the project stays on schedule.
- Prepare Your Surface
Before you start painting, it’s essential to prepare the surface properly. This includes cleaning, sanding, and priming if necessary.
Cleaning the surface removes dirt, dust, and loose paint, ensuring the new paint adheres properly. Sanding smoothens out any rough spots, and priming provides a good base for the paint to adhere to. Other surfaces may require more, such as pressure washing or repairing cement siding before repainting starts.
- Clean Up Afterward
Remember to clean up the mess once your home is freshly painted and looking fantastic. Properly dispose of any leftover paint, materials, or debris according to your HOA’s guidelines. Do a thorough sweep to ensure paint drips and spills are removed from streets, sidewalks, or landscaping. A good cleanup for your exterior and common areas can help you avoid violations.
Conclusion
Following HOA guidelines may require extra steps before starting an exterior paint job, but it’s worth it for a smooth process that keeps you on good terms with the board and neighbours. Remember to secure their approval regarding paint colors and painting schedules. Whether going the DIY route or hiring a professional painter, prepare your surface and use high-quality paint. Stay on schedule and clean up afterwards.
With these guidelines in mind, you’ll be on your way to giving your home a fresh look while keeping your HOA happy.